Wow
I can’t believe how long it’s been since I last posted – much has happened since but most of that is to do with the external skin of the shed and steps to gain Council approval, rather than any studio building per se. I ended up excavating an area behind the shed and building a retaining wall so that I could install a 2nd water tank that will take the stormwater off my new structure. That’s occupied the better part of 6 months of building time.

While this has nothing to do with isolation or acoustics - no Council approval means there is NO STUDIO. Anyway, Council have signed off on the key structural issues this week and I’m now free to get on with the fun stuff.
Here are some shots of the external work since I’ve invested so much time in it.
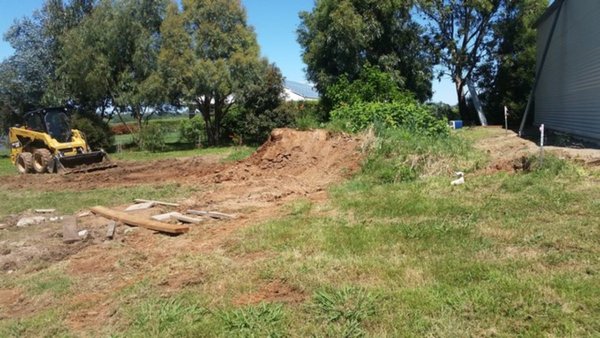
- tank site before work
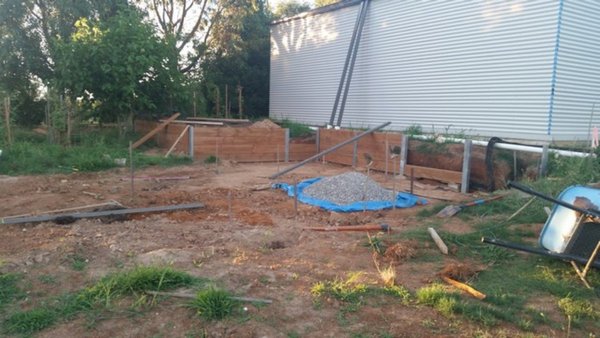
- building the retaining wall
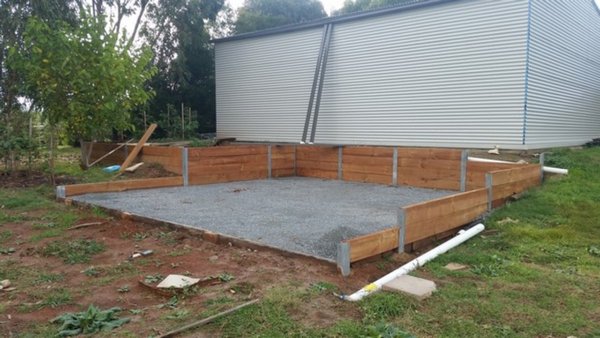
- site ready
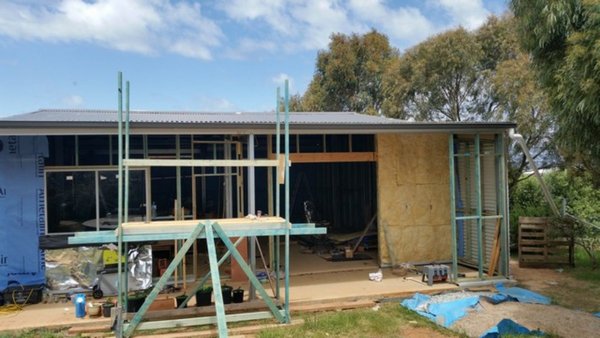
- My brother in law helped with the cladding - he built a couple of temporary platforms that we shifted around to lift and fix the material to the frame
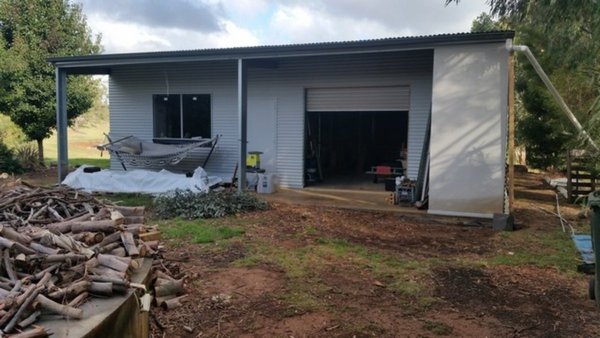
- lock up!
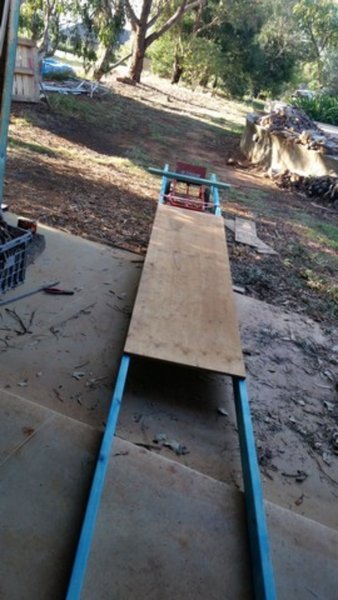
- made this up to shift the piles of fyrchek (drywall) round to the shed
In between cladding, trenching, excavating, levelling and hanging and laying gutters/stormwater pipes, I have been busy on the prep work to allow me to complete the construction of what will form the outer room walls. Most of that is bridging the gap between the loose tolerances of the steel framed structure and those required to get a consistent isolation outcome to the target level – for example, packing out the frame so the outer leaf of the studio will sit flat, laying the base plates and setting up the metal frame to hold my C section steel joists.
By way of reminder,
• I am building a live room 4.77m x 6.93m x 3.1m and a control room 5.2m x 4.2m x 3.1m within an outer shell that covers 70% of the overall shed area
• I’m aiming for 60dB TL at 1m – but can accept 50dB;
• For the outer shell I am using 1 layer of part 16mm ply/part 16mm Frychek (drywall) then one layer of Frychek (drywall) for the outer leaf - with green glue between the leaves;
• There is then an air gap of 200mm filled with fluffy; and
• 2 layers of 16mm Frychek (drywall) with green glue between for the inner room walls
I was toying with a ducted mini-split but have since decided to go with 2 ductless mini- splits. I will post my HVAC and insulation plan on my design thread.
Per post 33 in my design thread - with some good advice - I’ve established that while the metal cladding on the very outside has the potential to be a third leaf, the risk is very low and I have mitigated that risk by putting fluffy in the wood frame that holds the metal cladding.
Pics below of some of the
internal work that I have progressed.
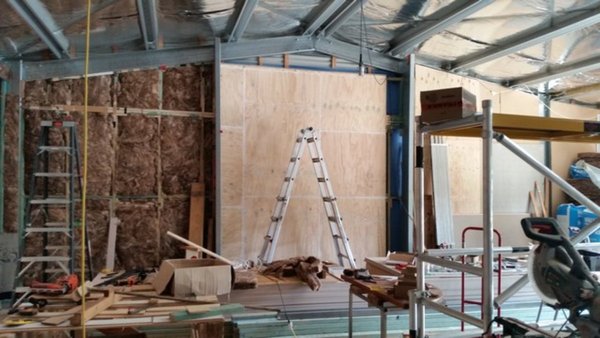
- My outer wall is part drywall/part ply as I had to have ply shear bracing at intervals around the perimeter - it was convenient to finish this first leaf on this wall section in ply
- wide shot of the next pic
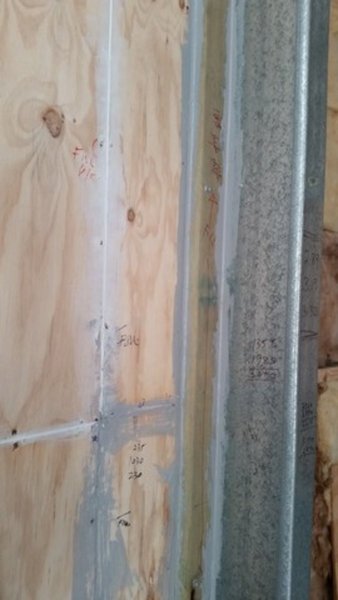
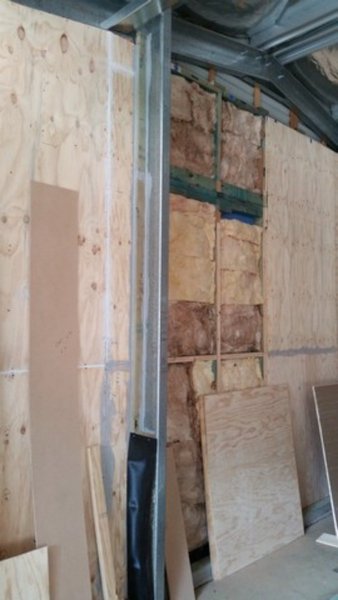
- The metal frame mullion columns are part of the outer wall - 2.4mm of steel plus 45mm of timber equates to the rest of my wall mass
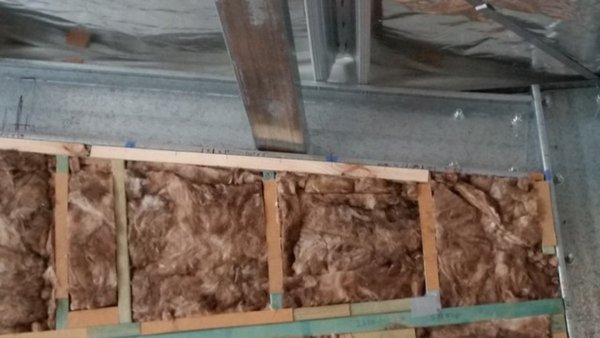
- Couple of shots of the packing that sits in the C section of the frame - the ceiling steel rafters will sit on this - they are temporarily on their sides
Next stepsMy workflow for the next few weeks will be centred on getting enough floor space back so I can utilise my drywall lift to hang the outer ceiling. At the moment I have piles of fyrchek (drywall) covering almost ½ the floor area. I have a plan for the walls and ceiling construction that will minimise the moving around of materials while leaving me adequate workspace to manage hanging 3.0m and 3.6m lengths of 16mm material. To do this I need to finish up the packing in the middle metal frame to hold the metal C- section steel rafters that the 2 layers of 16mm Fyrchek.
I promise to be more diligent with documenting the build diary now the work has turned to studio building

But in the meantime will post some more progress pics - hit the limit for this post
Andrew
 While this has nothing to do with isolation or acoustics - no Council approval means there is NO STUDIO. Anyway, Council have signed off on the key structural issues this week and I’m now free to get on with the fun stuff.